

In the previous post, you learned how to install WSL, which allows you to obtain all the power of the Linux terminal inside Windows. 😎 However, when you open the terminal, you may think it looks boring and ugly. Well, you have nothing to worry about 😵 because I will teach you how to solve this problem easily.

Hi! I'm Ernesto, and in this post, I am going to teach you how to install the Zsh shell and Oh My Zsh, so you can make your terminal look beautiful 🌈 and give it more power 🦾 with some plugins.
Table of content
- What is Zsh?
- What is Oh My Zsh?
- Install Zsh
- Install Oh My Zsh
- Install Powerlevel10k
- Configure Windows Terminal
- Edit the font for the Visual Studio Code integrated terminal
- Conclusions
What is Zsh?
Also called Z shell, it is a UNIX shell that is used as a command interpreter for shell scripting. This shell is an extended version of Bourne Shell with many improvements.
In simpler words, Zsh allows us to communicate with our computers through commands.
What is Oh My Zsh?
It is an open-source, community-driven framework for managing the Zsh configuration. Oh, My Zsh includes more than 275 plugins and 150 themes with which we can custom our terminal to make it powerful and beautiful.
Apart from the 150 themes included in Oh My Zsh, you can install other 3rd party themes. The most popular is called PowerLevel10k.
Before you start, remember that I will use WSL and Ubuntu for this process. If you don't have them installed, you can read this post.
Now let's go to the fun part. 😁
Install Zsh
Update packages
Before you install Zsh, make sure you have all your packages up to date.
If you already have your packages up to date, you can skip this step.
Open Windows Terminal, select Ubuntu, and run the following command:
sudo apt update
This command will verify if there exists any update available for your packages.
Don't forget that when you use sudo, you will have to enter the password you created when installing Ubuntu or any other distro.
When the process finishes, it will list all packages that need to be updated. To upgrade them run this command.
sudo apt upgrade
This process may take several minutes to complete.
Install Zsh and set it as the default shell
Run this command to install Zsh:
sudo apt install zsh
Once the process finishes, run this other command to set Zsh as the default shell. Remember to enter your sudo password.
chsh -s $(which zsh)
After that, close the terminal and reopen it. It will ask you to make the initial configuration; type 2 and press enter.
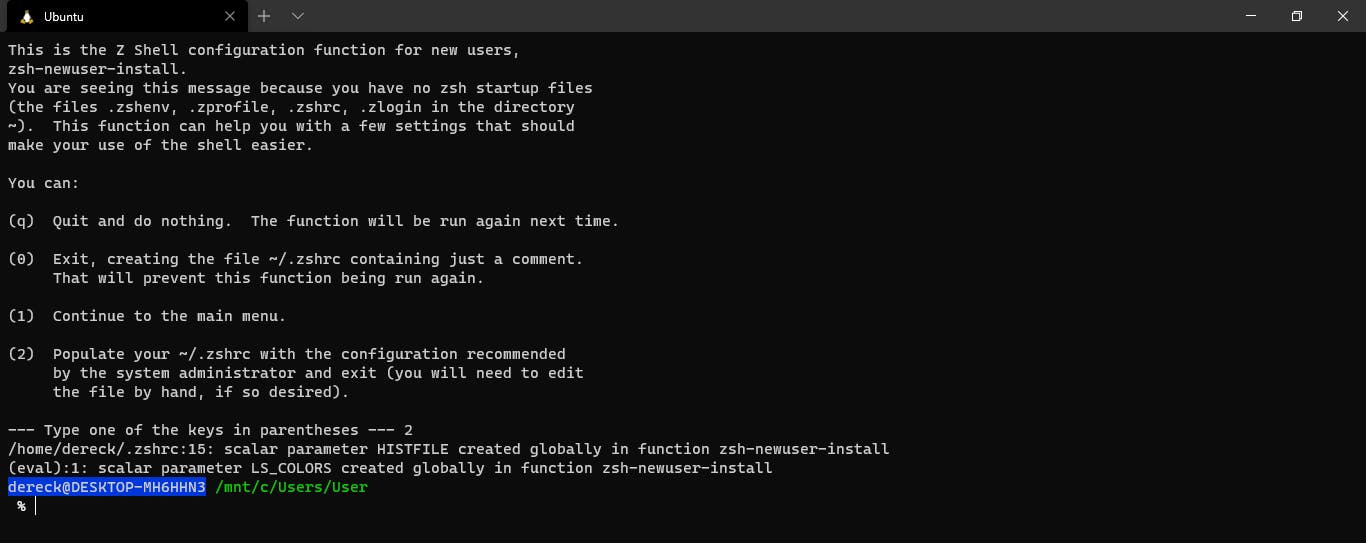
You will notice that the terminal has changed; this is because Zsh sets a default theme. In the next steps, you will learn how to customize it.
Now you have Zsh installed. Pretty easy, right? You can confirm if you installed it correctly running the following command; it should print /usr/bin/zsh.
echo $SHELL
Install Oh My Zsh
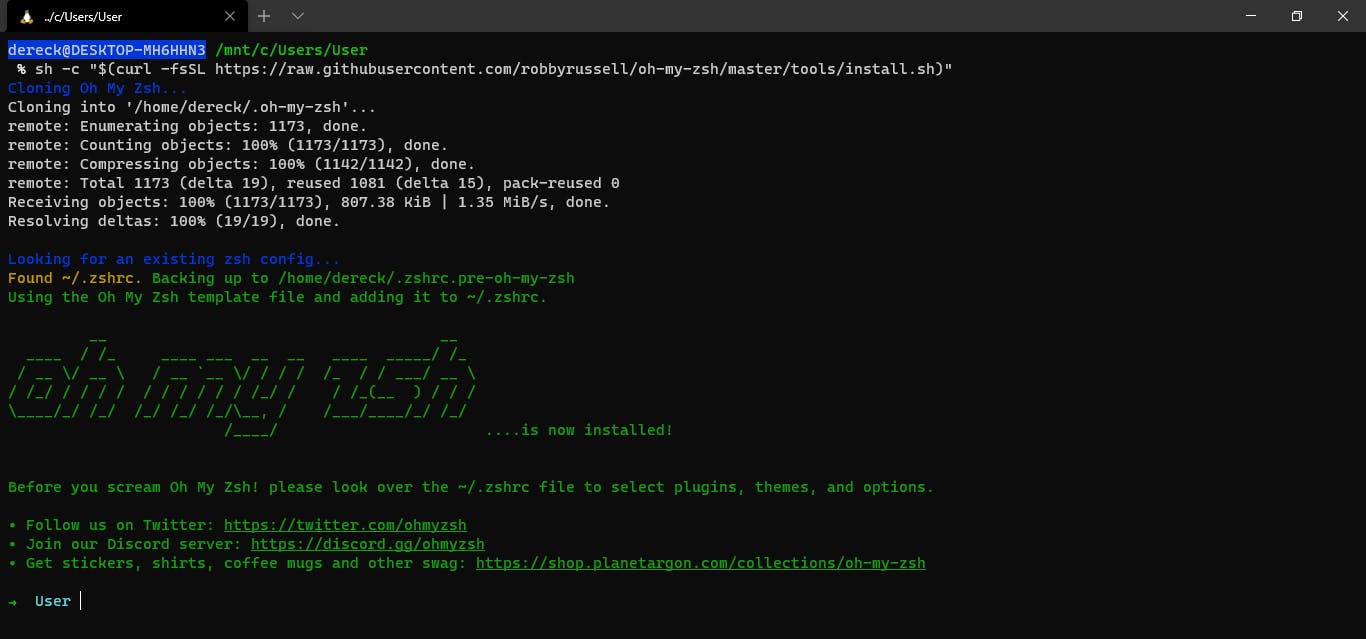
You have to run this command to install Oh My Zsh:
sh -c "$(curl -fsSL https://raw.githubusercontent.com/robbyrussell/oh-my-zsh/master/tools/install.sh)"
When the process finishes, you will notice, once again, that the theme has changed. Oh, My Zsh set another default theme called robbyrussell.
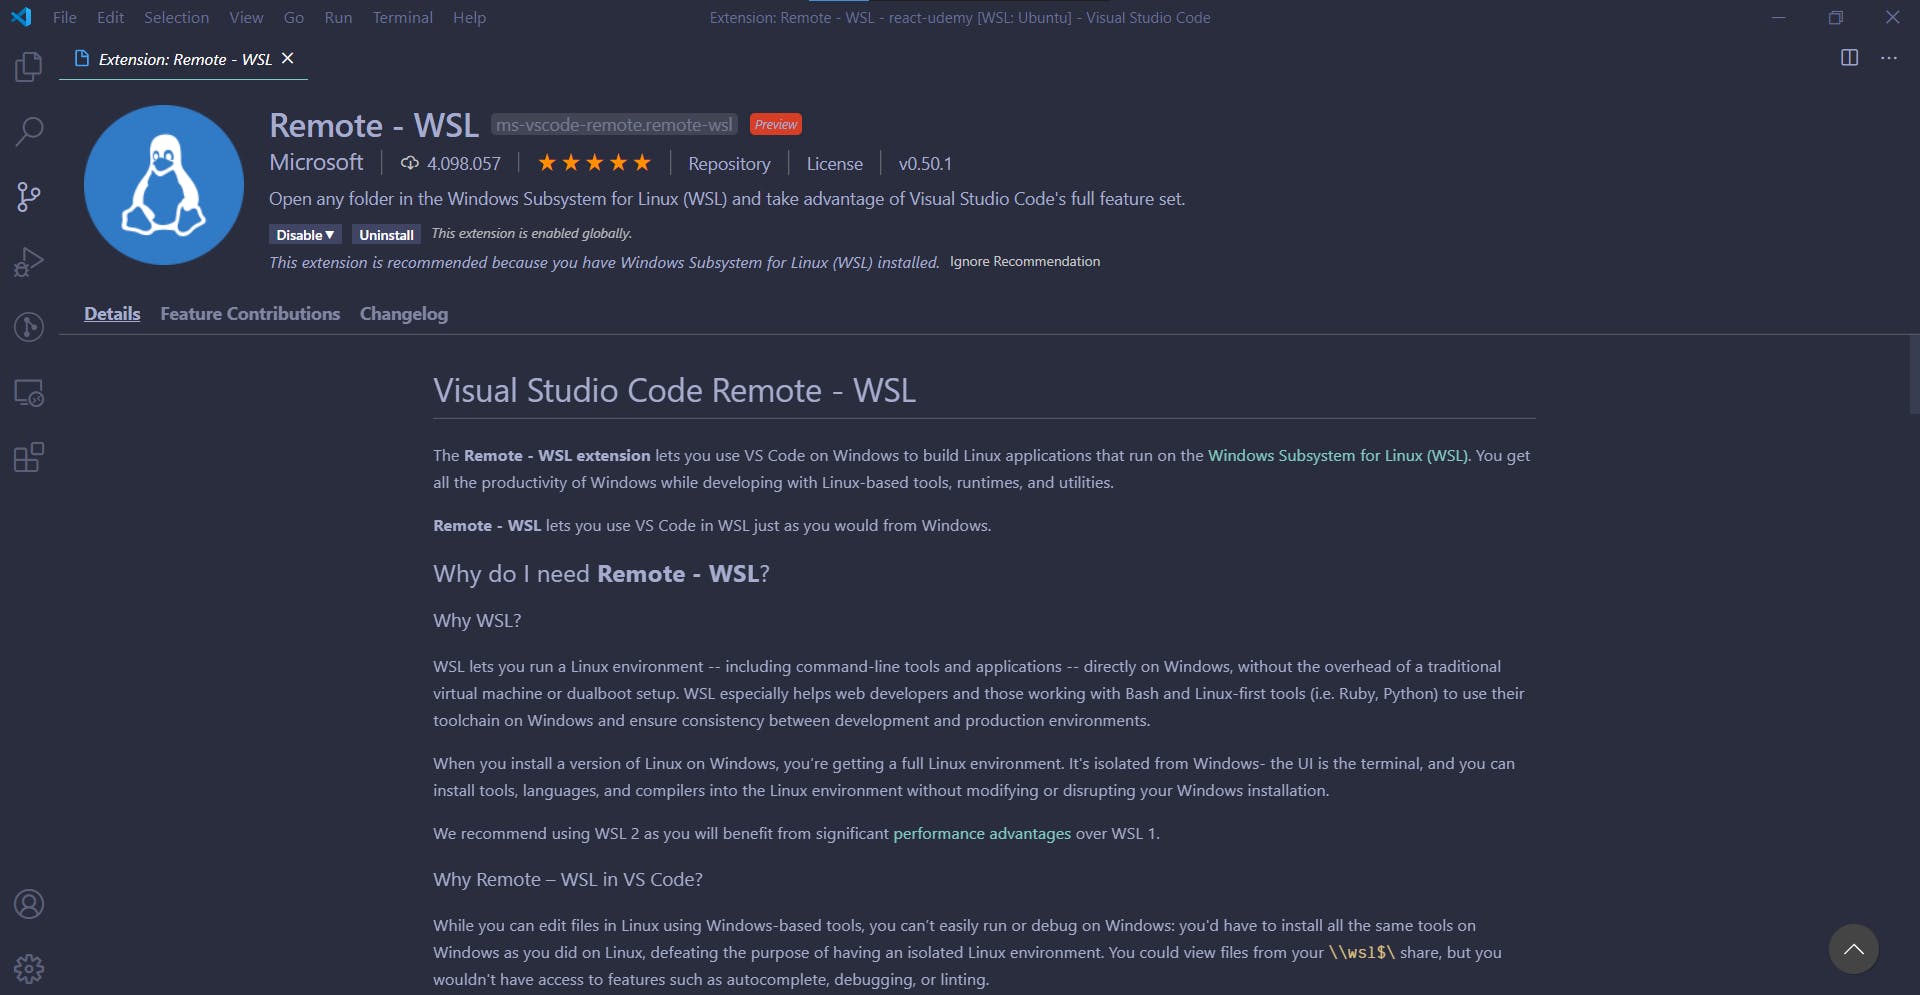
Install Visual Studio Code extension for WSL
To follow the next steps, you must have an extension called Remote-WSL installed. This extension allows VS Code to work with WSL. If you have already installed it, continue with the next steps.
Edit the configuration file
This file is the one that contains all the Zsh configuration, and it's the one you have to edit to enable the different themes and plugins that Oh My Zsh offers.
To edit this file, open it with VS Code by running the following command.
code ~/.zshrc
Customize your theme
Search for the ZSH_THEME configuration in the file you just opened (.zshrc). Edit this configuration with the name of the theme you prefer and save the file.
You can find all themes available with Oh My Zsh in this link.
If you are not sure what theme to choose, I recommend you write random. With this configuration, every time you open the terminal, it will have a different theme. If you find one you like, you can copy its name and place it in the "ZSH_THEME" configuration.
ZSH_THEME = "random"

Add plugins
Plugins give more functionality to the terminal and can be a powerful tool. Some of the more famous are autosuggestions which suggest and auto-completes commands, and syntax highlighting which highlights the commands depending on their type.
To install the plugins, run these commands:
# Autosuggestions
git clone https://github.com/zsh-users/zsh-autosuggestions.git $ZSH_CUSTOM/plugins/zsh-autosuggestions

# Syntax Highlighting
git clone https://github.com/zsh-users/zsh-syntax-highlighting.git $ZSH_CUSTOM/plugins/zsh-syntax-highlighting
Now you have the plugins installed, but you need to enable them too. Go to the .zshrc file, search for the "plugins" configuration, and add the plugins you just installed.
plugins=(git zsh-autosuggestions zsh-syntax-highlighting)
In this link, you will find all the plugins available to install.
Install Powerlevel10k
Oh, My Zsh comes bundled with a lot of themes we can choose from, but the most popular, and in my opinion the best one, is Powerlevel10k, which you will learn to install now.
Install NerdFonts
For Powerlevel10k to work, a font from NerdFonts is required. There are many different fonts you can choose from, and in this link, you can find them all. However, the font I recommend you to install is FuraMono, which you can download here.
After you download the file, open it, and install it.
Clone GitHub repository
Run this command.
git clone https://github.com/romkatv/powerlevel10k.git $ZSH_CUSTOM/themes/powerlevel10k
If you want to see the repository, you can find it here.
Set Powerlevel10k as the default theme
Go to the .zshrc file and change the "ZSH_THEME" configuration like this:
ZSH_THEME="powerlevel10k/powerlevel10k"
Also, in the next line, add the following configuration to enable the font you just installed.
POWERLEVEL9K_MODE="nerdfont-complete"
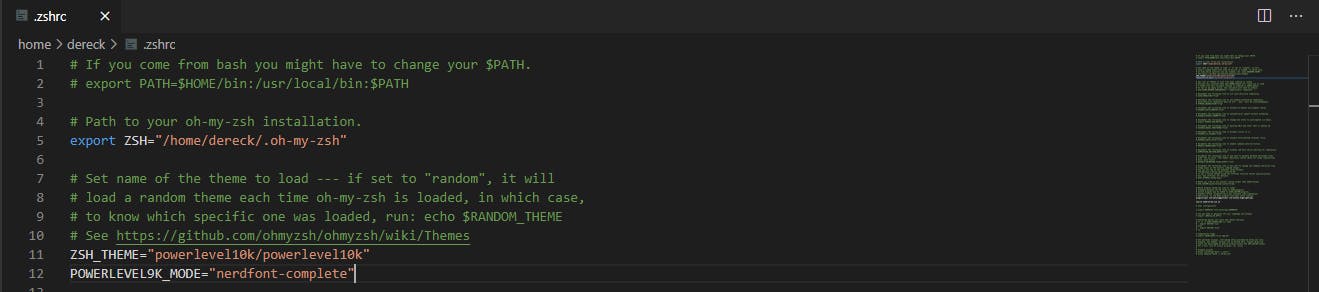
Save and close the file.
Now, in the terminal, you will see the initial configuration of the Powerlevel10k theme.
To complete this configuration, you have to read the instructions and choose the options you like the most.
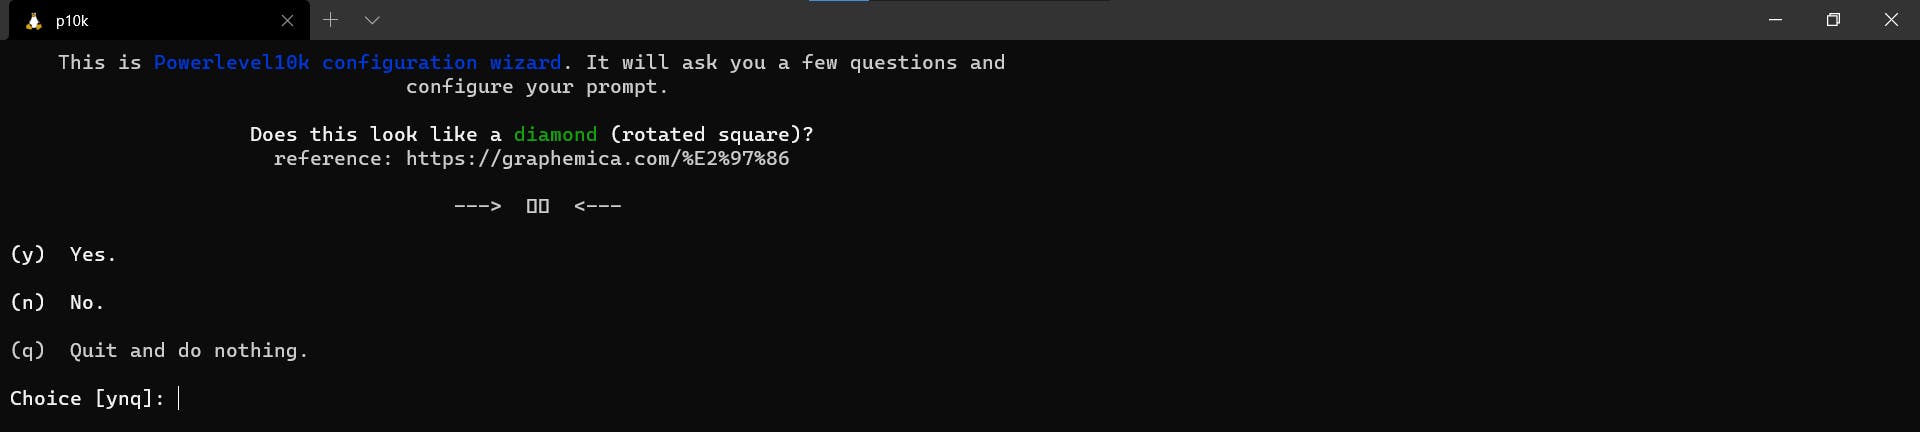
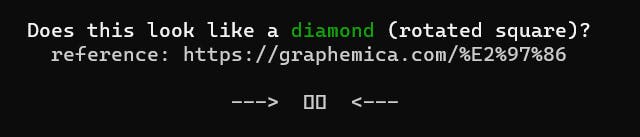
But wait! Do not do anything yet. If you read the instructions, you'll notice that it says that you should see a diamond 🔷, but what you see is a square. This happens because you have not enabled the font FuraMono for Windows Terminal yet.
Configure Windows Terminal
Enable font
In Windows Terminal, click the dropdown menu and select settings to open the configuration file of Windows Terminal in VS Code.
Do not confuse the configuration file of Zsh
(.zshrc)with the one of Windows Terminal(settings.json). They are very different.
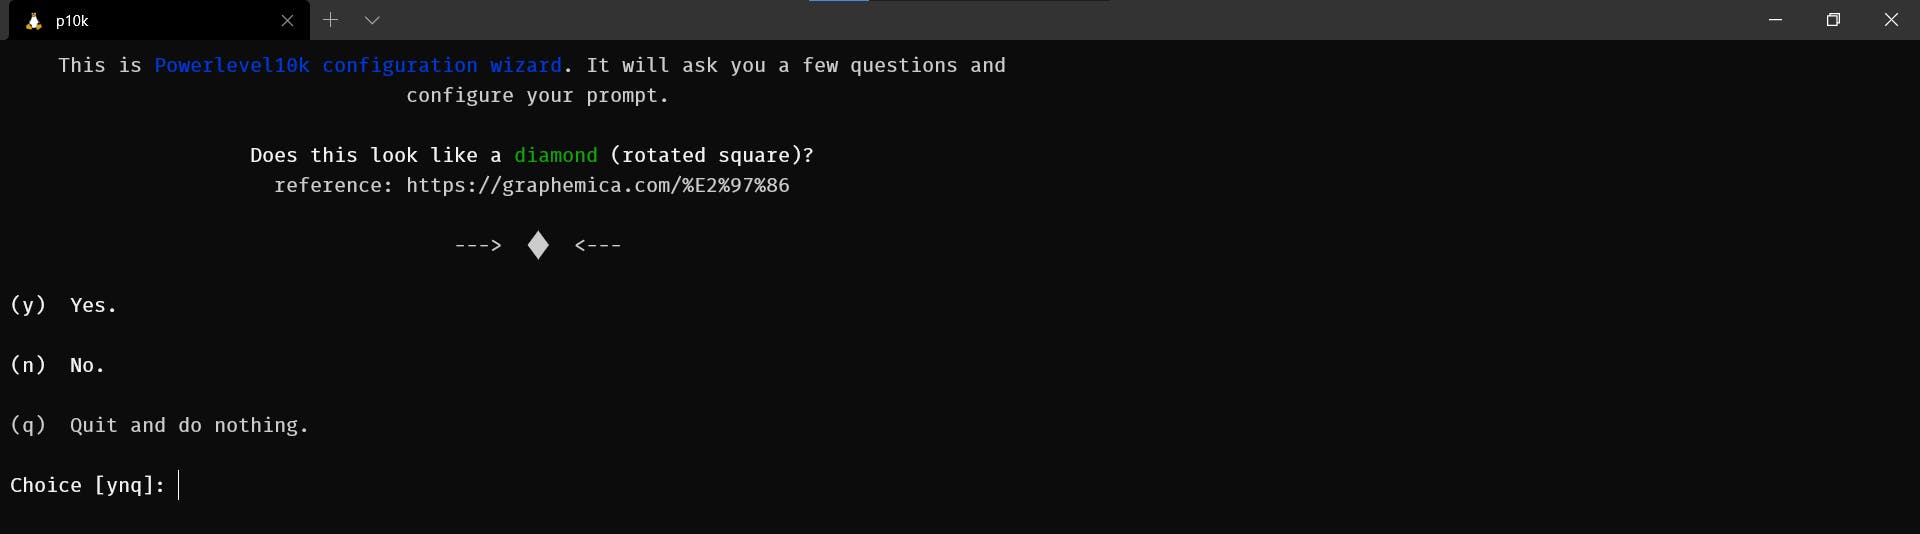
In the settings.json file, search for the configuration group of the Ubuntu terminal and add the following line.
"fontFace": "FuraMono Nerd Font"

Go back to the terminal, and you should see that diamond 🔷 that the instructions say. Now you can start the initial configuration of Powerlevel10k.
Change theme (optional)
Once you finish the configuration, your terminal should look something like this (it may vary depending on what you chose).

In Windows Terminal, you can also change its theme and customize its colors like in Zsh.
There are a lot of themes on the web. In this link, you can find some of the best ones. The theme I like the most is Aurelia. To add it, go to the settings.json file, search for "schemes", and add the following lines.
{
  //Color Scheme: Aurelia
  "name": "Aurelia",
  "background": "#1a1a1a",
  "black": "#000000",
  "blue": "#579BD5",
  "brightBlack": "#797979",
  "brightBlue": "#9CDCFE",
  "brightCyan": "#2BC4E2",
  "brightGreen": "#1AD69C",
  "brightPurple": "#975EAB",
  "brightRed": "#EB2A88",
  "brightWhite": "#EAEAEA",
  "brightYellow": "#e9ad95",
  "cyan": "#00B6D6",
  "foreground": "#EA549F",
  "green": "#4EC9B0",
  "purple": "#714896",
  "red": "#E92888",
  "white": "#EAEAEA",
  "yellow": "#CE9178"
}
You can add as many themes as you want inside the scheme array.
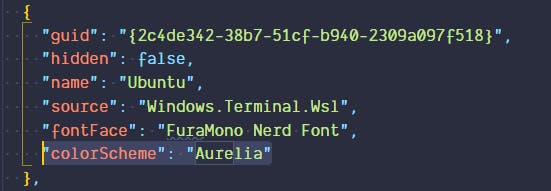
Now in the configuration group of the Ubuntu terminal, add this line.
"colorScheme": "Aurelia"
Edit the font for the Visual Studio Code integrated terminal
Open VS Code and open the settings. Search for "terminal font", and write this: "FuraMono Nerd Font".

And that is everything you had to do. 🥳 🥳 🥳
Conclusions
You went from a terminal that looked like this:

To a terminal that looks like this:
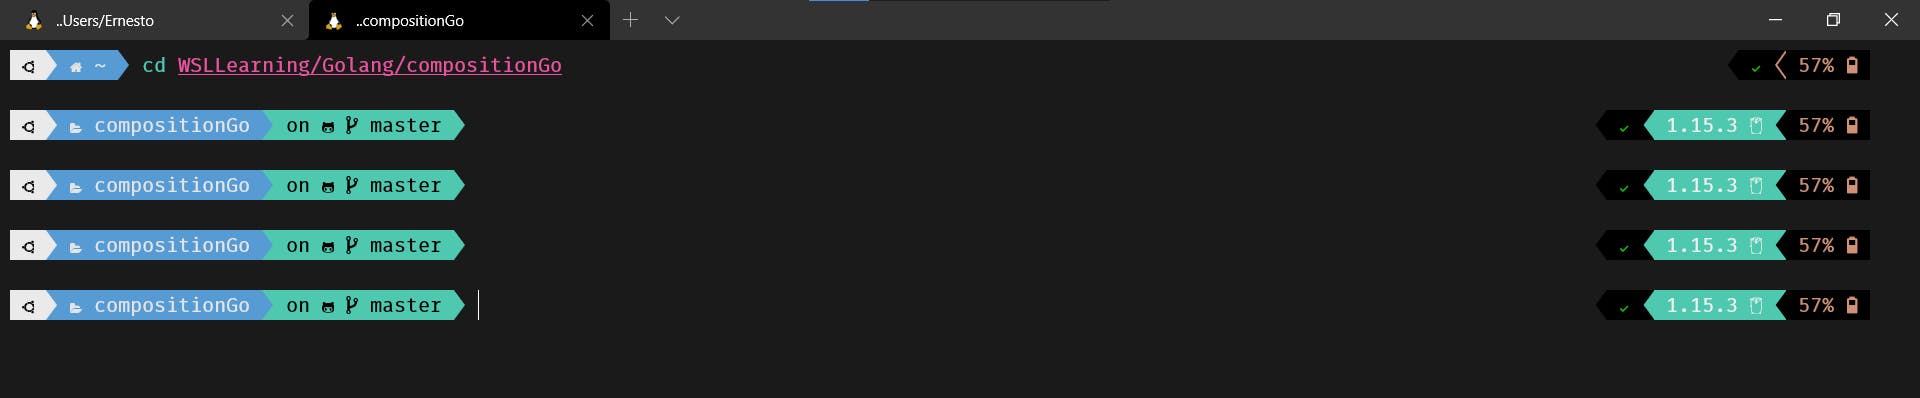
The difference is enormous, right? 😅 Thanks to WSL, Zsh, Oh My Zsh, and Windows Terminal you have now a beautiful and powerful terminal. 😎
In the next post, I will teach you to install in WSL some mandatory tools for any developer. I'll see you there. 😉
If this post helped you, please give it a reaction. And If you have any contribution, comment, or recommendation, write it down in the comments section. It helps me a lot to improve my content. 😃
See you in the next post. 👋