

If you are new to web development and your PC is Windows, surely you have watched several courses or tutorials in which their instructors had a terminal that looked something like this: 🤩
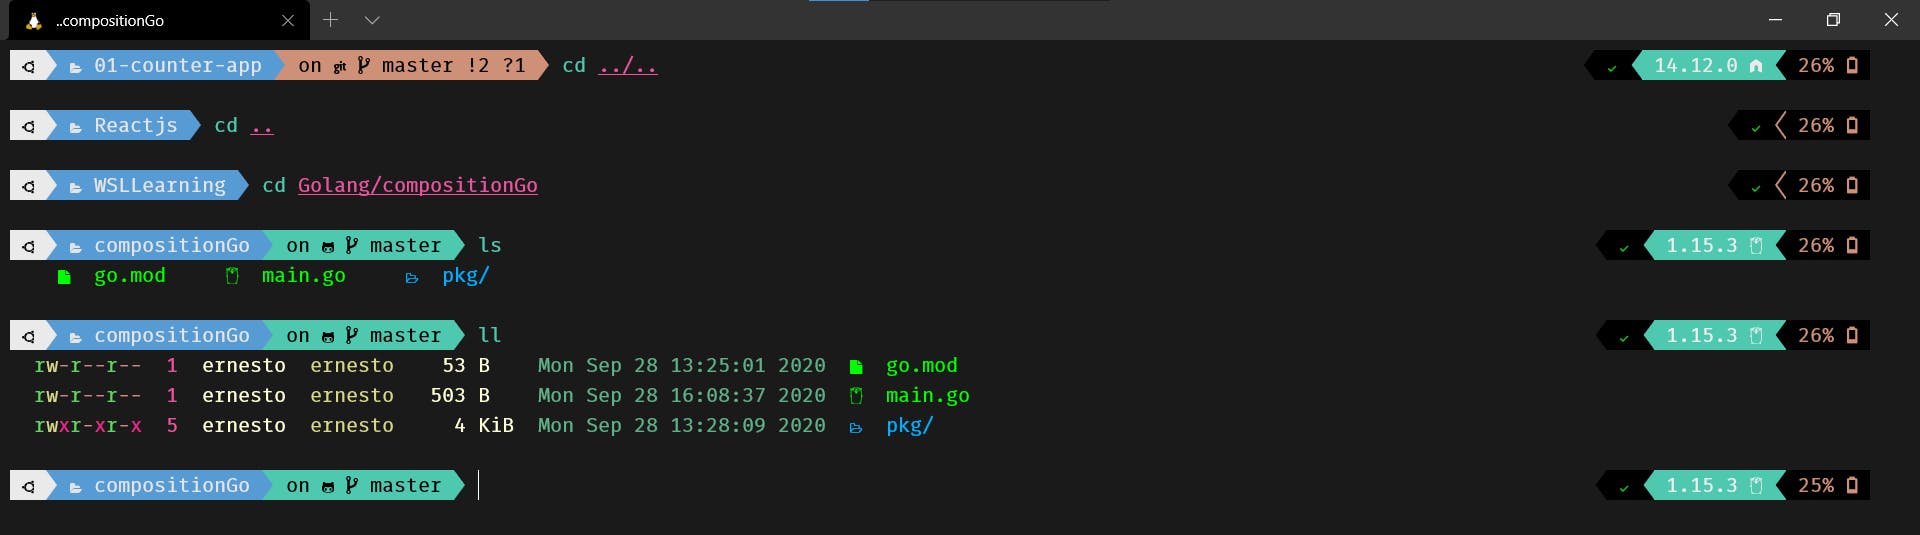
Or ran commands such as clear or ls, which you tried to run in your terminal, but they did not work and printed an error. Well, if you have those issues, let me tell you that you're using the wrong terminal. 😅

You may think these are just unimportant details, but there is nothing further from reality.
As a very popular saying says: The terminal is a developer's best friend. 💙
Hi! I'm Ernesto, and in this post, I am going to teach you how to get all the power 💪 of a Linux terminal inside Windows (without disk partitions).
Table of content
What is WSL?
Before we begin, we should talk about what WSL (Windows Subsystem for Linux) is.
WSL is a compatibility layer developed by Microsoft for running Linux binary executables natively on Windows 10. In simpler words, it allows us to install real Linux distros, like Ubuntu, all inside Windows. This means we can use tools like bash or zsh to manage our Windows files. 🤯
With WSL, we can run Adobe Photoshop or Microsoft Word in a window and Ubuntu in another. All at the same time!
Install WSL
To install WSL, you must match these requirements:
- Have Windows 10 installed
- Have, at least, 1607 version for WSL 1 and 1903 for WSL 2.
- To see your Windows version, follow these steps:
- Press
Windows + R. - Write "winver" and press enter
- Press
- To see your Windows version, follow these steps:
- Also, for WSL 2, it is necessary to enable virtualization
- To enable it, watch this video.
Enable WSL
Open PowerShell as administrator and run this command.
dism.exe /online /enable-feature /featurename:Microsoft-Windows-Subsystem-Linux /all /norestart
When the process finishes, restart your computer.
Install a Linux distro
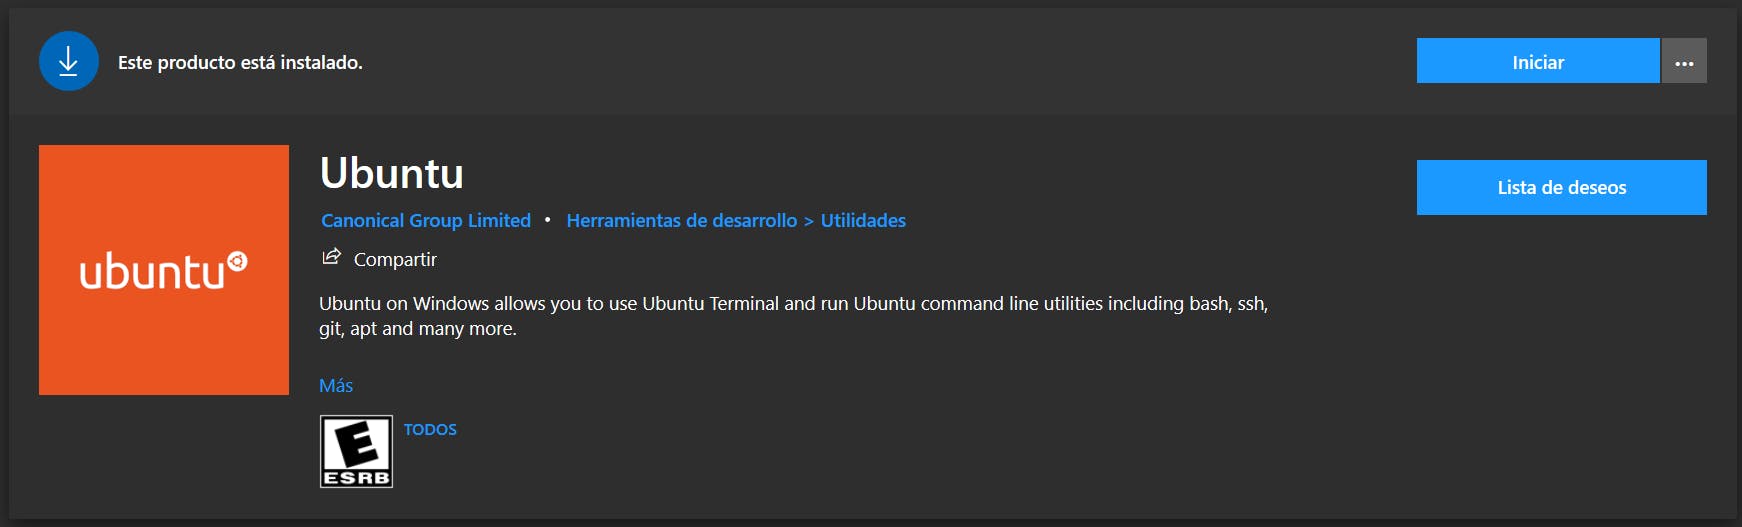
Open Microsoft Store and search "Linux". You can install the distro of your preference, but if you're not sure, I recommend you choose Ubuntu.
When the installation finishes, open Ubuntu and wait until the installation ends. After that, write a new UNIX username and password.

Don't forget to save your information in a secure place.
Update to WSL2
It is the second version of WSL. It increases file system performance and supports full system call compatibility.
If you want to read a full comparison between versions 1 and 2, read this blog from Microsoft.
For this step, it is mandatory to match all requirements for WSL 2 I mentioned at the beginning of the installation. If you don't match the requirements skip this step and go to the next one.
Before updating, check your current version by running the following command in PowerShell:
wsl -l -v
This command will show all distros we have installed and the version of WSL they are running in.

Enable VMP (Virtual Machine Plataform)
Now, to enable VMP, you have to run this command in PowerShell:
dism.exe /online /enable-feature /featurename:VirtualMachinePlatform /all /norestart
Once the process finishes, restart your computer
Install the Linux kernel
Download the kernel from this link, execute the installer, and accept all permissions.
Set WSL 2 as the default version
Run the following command in PowerShell:
wsl --set-default-version 2
With this configuration, all distros you install are going to run in WSL 2.
If you already had a distro installed, you must update it manually with this command:
wsl --set-version Ubuntu 2
Install Windows Terminal
It is an application developed by Microsoft that makes working with multiple terminals easier.
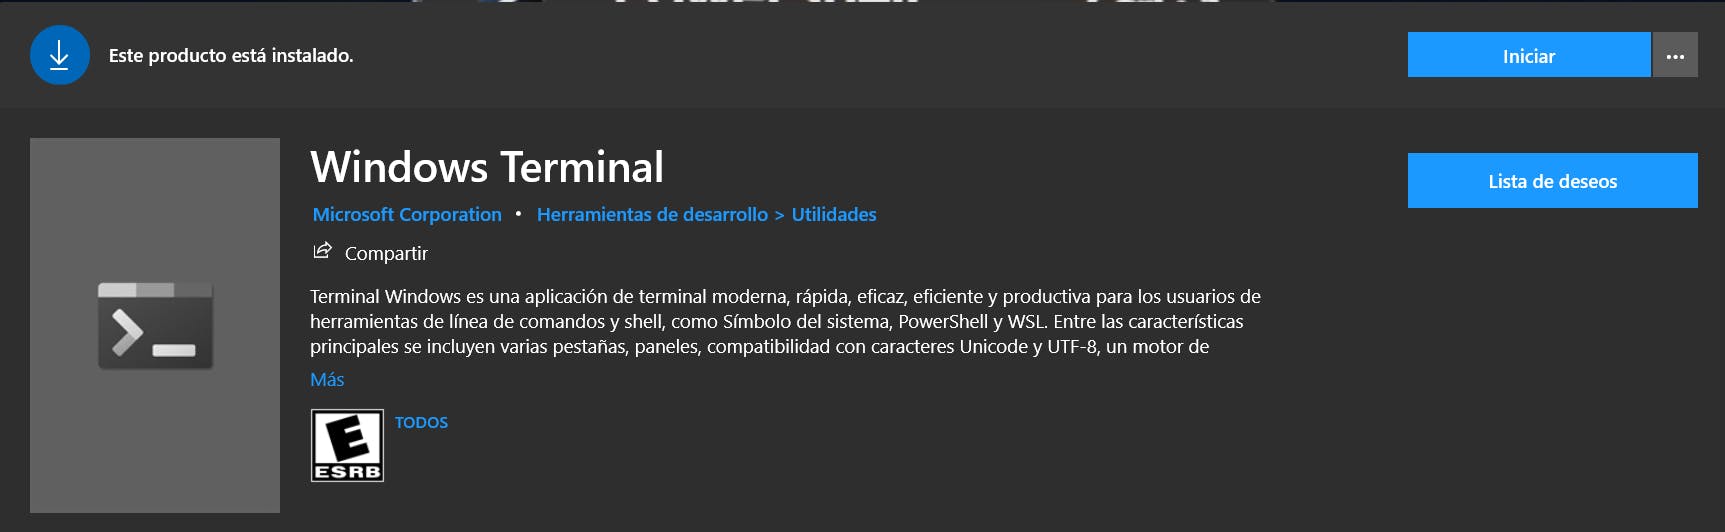
In the Microsoft Store search for "terminal" and install it. Once the installation finishes, open the Windows Terminal app and select the Ubuntu (you can select PowerShell, CMD, or Azure too).
And there you have it! You have, now, WSL installed on your computer. 😎

Next steps
Congrats! ⭐ You can now use all the power the terminal has to offer inside your Windows computer without the need for a disk partition. 🤩 However, we still have a problem. The terminal looks kind of ugly. 😥
Well, no worries! In this post, I teach you how to make your terminal look awesome. All thanks to Zsh and Oh-My-Zsh. 😉
If this post helped you, please give it a reaction. And If you have any contribution, comment, or recommendation, write it down in the comments section. It helps me a lot to improve my content. 😃
See you in the next post. 👋
Resources
- https://docs.microsoft.com/en-us/windows/wsl/install-win10
- https://docs.microsoft.com/en-us/windows/wsl/about
If you want to read the Spanish version of this post, you can find it here.