

When you started learning React, 🧠 you surely got to know useState for managing the state of your functional components. ⚛️ But did you know that there exists another hook called useReducer that does the same thing? 😱
Hi! I'm Ernesto, and in this post, we will get to know the useReducer hook and how handy it can be. ⚒⚒
If you are familiar with reducers, you should have a notion of what
useReducerdoes. If you are not familiar with reducers, I recommend you read this post I made about reducers in JavaScript first.
Table of Content
What is useReducer?
Let's make it simple. 🙂 useReducer allows us to use reducer functions in functional components for managing their state. It takes three parameters (the third is optional):
const [state, dispatch] = useReducer(reducer, initialState, init);
reducer: The reducer functioninitialState: The initial value for the stateinit(): An initialization function
and returns two things:
state: The current state valuedispatch(action): A function that will trigger an action in the reducer. It takes the action object as a parameter.
Again 😅, if you don't understand these concepts like reducer or action, read this post where I talk about them first.
When should I use useReducer? 🤔
First, remember that there is not a winner between
useState,useReducer, or any other tool. We should use the tool that fits our requirements better.
According to the React documentation, useReducer is usually preferable to useState when you have complex state logic that involves multiple sub-values.
In simpler words, if you have a state that is an object and it has many nested values, 🥴 you should use useReducer instead of useState. Besides, by using the useReducer hook, we can have all the logic of our actions centralized inside a single reducer function. 😉
Example, please 🙃
So, what is the example going to be? A counter as always? 😅 No, this time, we will make a list of crew members where we will be able to kill 😈 and revive 😇 them. Yes, something similar to Among Us. 👩🚀
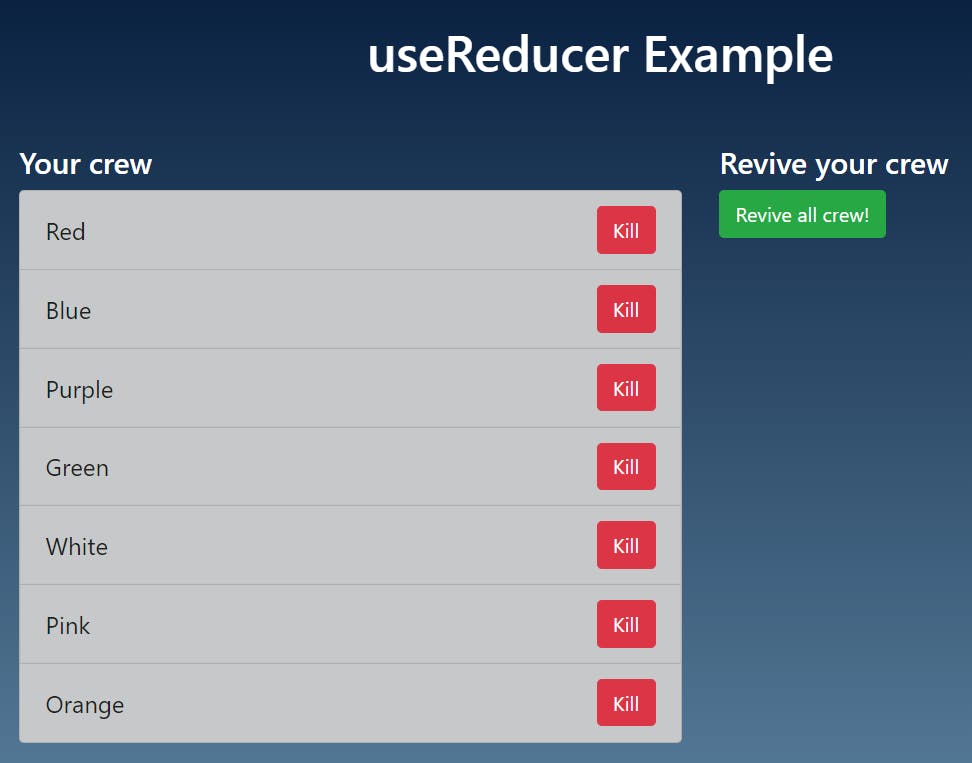
You can check the compiled example in my CodePen. ✒
Let's begin...
Here we have an array with all our crew members. 👨👩👧👦 It will be the initial value for our state. Also, we have our initialization function (init) that can be handy when we want to reset the state to its initial value.
//Initial state
const crew = [
  { id: 1, name: "Red", alive: true },
  { id: 2, name: "Blue", alive: true },
  { id: 3, name: "Purple", alive: true },
  { id: 4, name: "Green", alive: true },
  { id: 5, name: "White", alive: true },
  { id: 6, name: "Pink", alive: true },
  { id: 7, name: "Orange", alive: true },
];

const init = () => {
  //Returns the initial value
  return crew
}
Now, let's create our reducer function that will contain all of our actions.
const crewReducer = (state, action) => {
  switch (action.type) {
    //Toggle the alive property (true - false) individually
    case 'KILL-TOGGLE':
      return state.map(person => person.id === action.payload ? {...person, alive: !person.alive} : person)

    //Update all alive properties to true
    case 'REVIVE':
      //Here we use our init function (returns the initial value)
      return init()

    //If we pass an unknown action
    default:
      return state;
  }
}
Remember that each case (action) must return to a new state and not anything else. As you can see above, we are returning the state modified, but with the same structure.
Once we have everything that useReducer needs, let's use it in our main component.
const App = () => {
  //Use of useReducer hook
  const [state, dispatch] = React.useReducer(crewReducer, crew, init)

  const kill = (memberId) => {
    //Call the dispatch method to trigger the KILL-TOGGLE action
    dispatch({
      type: 'KILL-TOGGLE',
      payload: memberId
    })
  }

  const revive = () => {
    //Call the dispatch method to trigger the REVIVE action
    dispatch({
      type: 'REVIVE'
    })
  }

  return (
    //Render logic...
  );
};
We create two functions that will use the dispatch function we get from useReducer. This function will take, as a parameter, the action object with its type and payload.
Note that in the second (revive) function, we do not pass a payload because it is not necessary as we are updating all the properties. On the other hand, In the first one, we do require it to identify which member we want to kill.
Once we have all the logic for our useReducer hook, we can implement it in the rendering.
//App component render logic
return (
    <div className="container">
      <h1>useReducer Example</h1>
      <div className="row">
        <div className="col-7">
        {/*List of crew members*/}
          <h4>Your crew</h4>
          <ul className="list-group list-group-flushed">
            {state.map((person) => (
              <Person name={person.name} alive={person.alive} id={person.id} kill={kill}/>
            ))}
          </ul>
        </div>
        <div className="col-5">
          <h4>Revive your crew</h4>
        {/*Revive all button*/}
          <button className="btn btn-success" onClick={revive}>Revive all crew!</button>
        </div>
      </div>
    </div>
)
Finally, here is the implementation of the Person component that uses the kill method passed from its parent:
//Person component
const Person = ({name, alive, id, kill}) => {
return (
<li className="list-group-item list-group-item-dark">
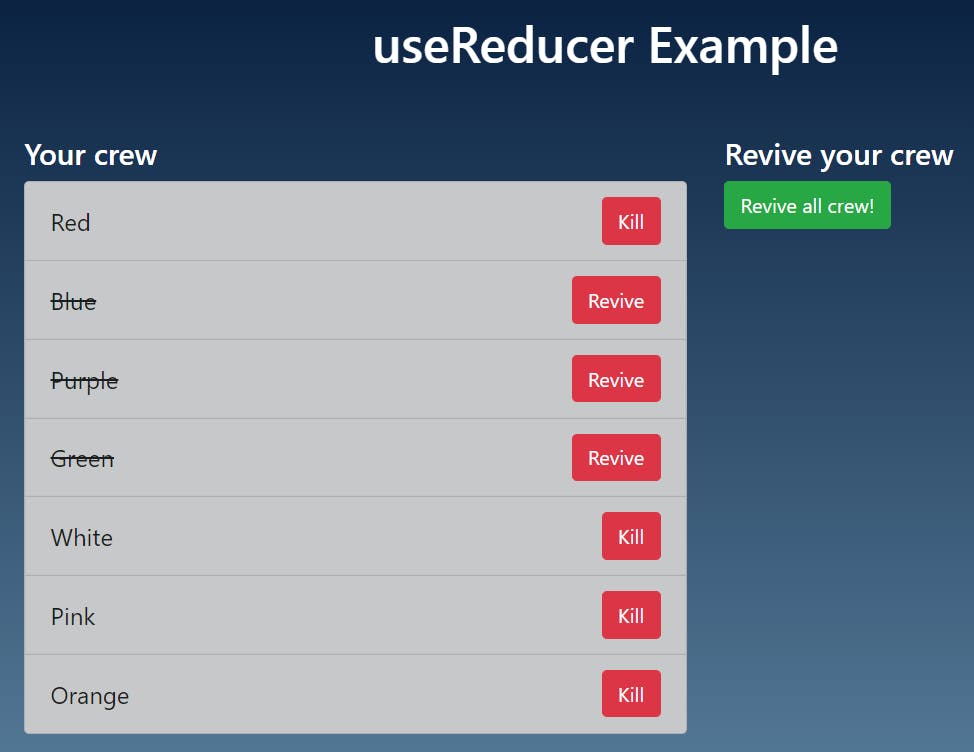
<p className={alive ? "" : "killed"}>{name}</p>
<button className="btn btn-danger" onClick={() => {kill(id)}}>
{alive ? "Kill" : "Revive"}
</button>
</li>
)
}
And that's it for the example! 😎 Try adding new things such as a form where you can add a new member to the crew. 😉
Clue 🔍: You will have to create another case in the reducer. Use the spread operator to add the new user.
case 'ADD':
    //Payload is what you get from the form
    return [...state, action.payload]
Conclusions
- Choose
useReducerinstead ofuseStatewhen your state turns complex 😵 with multiple sub-values. - Use the init function to reset ↩ the state to its initial value.
- Don't forget that your reducer function must return a new state with the same structure. 🧱
Remember that before you choose a feature or tool 🛠 over another, you have to be sure that what you are going to choose fits all your requirements. 😉
Thanks for reading! 📖 If this post helped you, please give it a reaction. 💙 And If you have any contribution, comment, doubt, or recommendation, write it down in the comments section. It helps me a lot to improve my content. 😃
See you in the next post. 👋